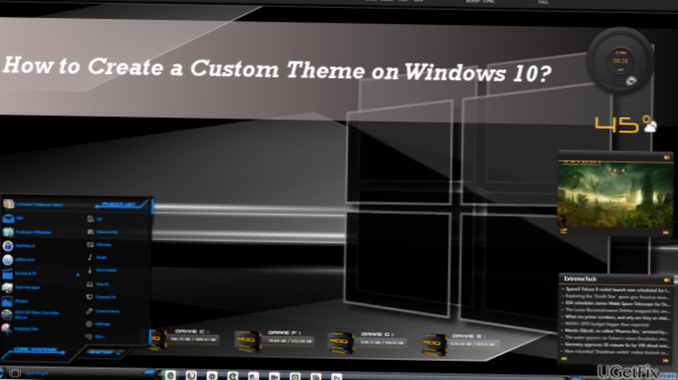
How to Make Your Own Windows 10 Theme
- Open the Start menu and select Settings.
- Choose Personalization from the settings screen.
- Click Themes in the Personalization window, then Theme settings.
- Give your theme a name in the window dialog box and hit OK.
- How do I make my own Windows theme?
- How can I create my own theme?
- Can Windows 10 be customized?
- How do I add an image to Windows 10 theme?
- How do I edit a Windows theme?
How do I make my own Windows theme?
Create Custom Themes in Windows 10
- Go to Settings app (WinKey + I) and select Personalization.
- Next up, go to Colours tab and select an accent color for your theme. You can even choose to pick an accent color automatically from the active background image.
- Now, your custom theme is ready and you just need to save it.
How can I create my own theme?
To create a theme, follow these steps:
- Open the Theme dropdown menu near the top of the right side of the Theme Editor.
- Click Create New Theme.
- In the New Theme dialog, enter a name for the new theme.
- In the Parent theme name list, click on the parent from which the theme inherits initial resources.
Can Windows 10 be customized?
Windows 10 makes it easy to customize the look and feel of your desktop. To access the Personalization settings, right-click anywhere on the desktop, then select Personalize from the drop-down menu. The Personalization settings will appear.
How do I add an image to Windows 10 theme?
Create a Custom Windows 10 Theme. To create your personalized theme head to Settings > Personalization > Background. Under the “Choose your picture” section click the Browse button and select the folder that contains the image you want to use. Then choose a fit – typically “Fill” works best for high-quality images.
How do I edit a Windows theme?
To change the theme in Windows 10, do the following.
- Open the Settings app.
- Go to Personalization -> Themes.
- On the right, click on a theme you like under Apply a theme.
- The theme is now applied.