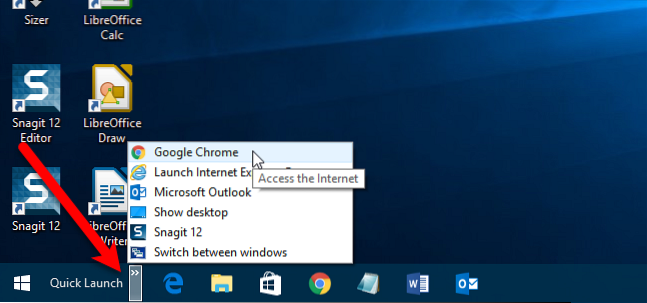
Here's how.
- Right click the OneDrive taskbar icon and select Settings.
- Click the Unlink OneDrive button under the Account tab. ...
- Launch File Explorer.
- Navigate to and select the OneDrive folder. ...
- Click the Move to button on the Home tab.
- Select Choose location.
- Select the new location and click Move.
- How do I change the default save location for OneDrive?
- How do I change my default save location Windows 10?
- How do I stop Windows 10 from saving to OneDrive?
- How do I stop things from saving to OneDrive?
How do I change the default save location for OneDrive?
Select the OneDrive folder. Click the Home tab. Click the Move to drop-down menu, and select the Choose location option. Browse and select the new location to move your OneDrive files locally stored on your computer.
How do I change my default save location Windows 10?
How to change the default save location in Windows 10
- Open the Settings app.
- Click on System and then on "Storage" from the side-bar on the left.
- Scroll down to the bottom of the page, where it says "More Storage Settings".
- Click on the text that reads "Change where new content is saved".
How do I stop Windows 10 from saving to OneDrive?
Go to PC Settings, using the PC Settings tile in the Start menu, or swipe in from the right edge of the screen, select Settings, and then select Change PC settings. Under PC settings, select OneDrive. On the File Storage tab, turn off the switch at Save documents to OneDrive by default.
How do I stop things from saving to OneDrive?
To stop a OneDrive sync:
- Open the settings options of your OneDrive for Business client. Right click (Windows) or double finger tap (Mac) the OneDrive icon near the clock.
- Click Settings option.
- Navigate to the Account tab.
- Find the folder sync you want to disable, and click Stop sync.