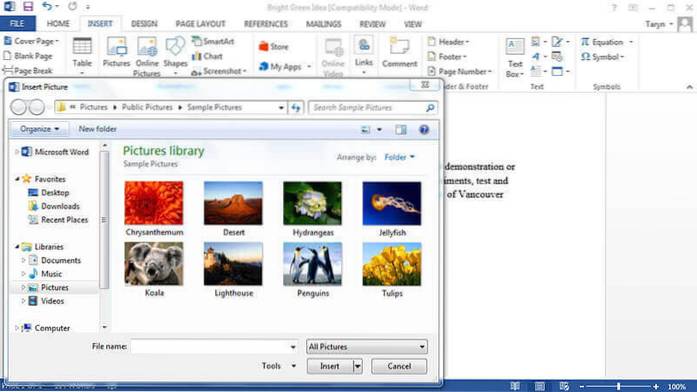
Select the Insert tab on the Ribbon, then click the Pictures command. The Insert Picture dialog box will appear. Navigate to the folder where your image is located, then select the image and click Insert. The image will appear in the document.
- How do you move pictures on Microsoft Word 2016?
- How do you move an object freely in Word?
- How do you drag an image?
- How do I automatically update a picture in Word?
- How do you arrange pictures in Word?
- Where is layout options in Word?
- How do I format multiple pictures in Word?
- How do you move an object in Microsoft Word?
- Why can't I drag pictures in Word?
- How do you move an inserted object in Word?
How do you move pictures on Microsoft Word 2016?
Open Layout Options
- Select a picture.
- Select the Layout Options icon.
- Choose the layout options you want: To bring your picture in front of the text and set it so it stays at a certain spot on the page, select In Front of Text (under With Text Wrapping), and then select Fix position on page.
How do you move an object freely in Word?
First, confirm that the object is not set to In Line with Text: With the object selected click the Arrange button on the Shape Format contextual tab. From the Wrap Text choices select the method you prefer. You then should be able to freely drag the object to any location.
How do you drag an image?
Press and hold your Shift key and release your mouse button to drop and center the image in the document.
- Step 1: Select The Document With The Image You Want To Move. ...
- Step 2: Select The Move Tool. ...
- Step 3: Drag The Image Onto The Other Document's Tab. ...
- Step 4: Drag From The Tab Into The Document.
How do I automatically update a picture in Word?
To insert your image into any Word document, go to the Insert tab on the Ribbon and then open the Quick Parts function. A drop-down will appear, where you will select Field. Step 3: Upon clicking Field, a new window populates with all the things you can insert. Select the Include Picture field.
How do you arrange pictures in Word?
Hold down Shift and use the mouse or touchpad to select the objects that you want to align. Select Shape Format or Picture Format. Select Align. If you don't see Align on the Shape Format tab, select Arrange, and then choose Align.
Where is layout options in Word?
The layout options and compatibility options in Word 2007 and later versions are found near the bottom of the Word Options dialog box > Advanced category. This illustration shows the options found in Word 2013, 2016, 2019, and Word for Microsoft 365.
How do I format multiple pictures in Word?
To size all images to the same height and width:
- Right click first image, open 'Size and Position' box (or open box from the Picture -> Format -> Size box. ...
- Disable 'Lock Aspect Ratio'
- Change height and width to desired size.
- Close box.
- Click on next image and hit F4.
How do you move an object in Microsoft Word?
Move a picture, shape, text box, or WordArt
When the cursor changes to the four headed arrow, drag it to the new location. To move in small increments, press and hold Ctrl while pressing an arrow key. And to move the object horizontally or vertically only, press and hold Shift while you drag it.
Why can't I drag pictures in Word?
The most probable reason, as suggested by Suzanne, is that the layout property (wrap) of the image is 'in line' thus it behaves like a large font character. You must set the layout to something other than 'in-line' before you can drag it around.
How do you move an inserted object in Word?
Click the handle and drag on the document to resize the object. Click in the object and drag to move the object around your Word document.