To disable Aero Snap in Windows 10, do the following.
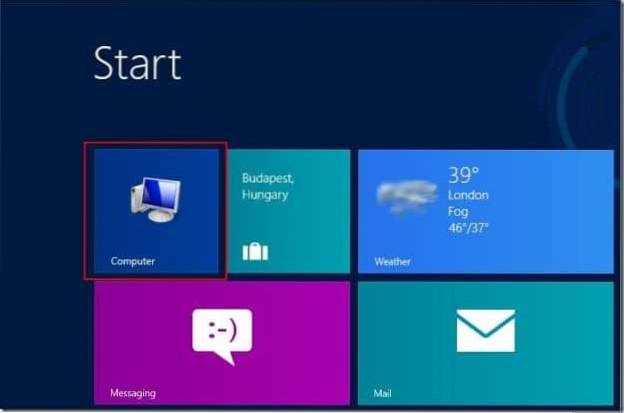
- Open Settings.
- Go to to System -> Multitasking.
- On the right, disable the option Arrange windows automatically by dragging them to the sides or corners of the screen.
- This will disable the Snap feature.
- How do I disable Windows snap?
- What is snapping in Windows 10?
- When I snap a window automatically size it to fill available space?
- How do I stop windows from resizing?
- How do I snap multiple windows in Windows 10?
- How do you vertically snap windows?
- How do I save a Windows 10 layout?
- How do I fix snap in MMC?
- How do I change my snap settings on Windows?
- How do you snap windows in dual monitors?
How do I disable Windows snap?
How to Disable Snap Assist in Windows 10
- Snapping windows is a great feature. ...
- In the Settings window, click the “System” category.
- Advertisement. ...
- If you only want to disable Snap Assist, turn off the “When I snap a window, show what I can snap next to it” option.
- That's all there is to it.
What is snapping in Windows 10?
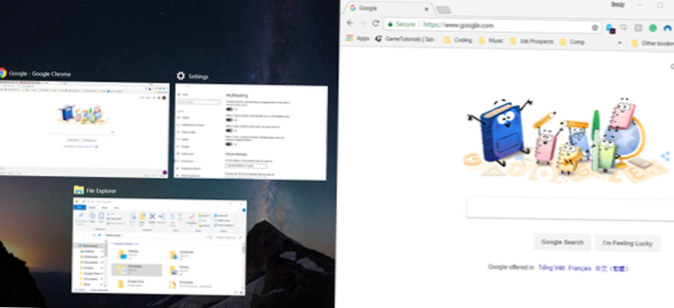
The feature lets you "snap" a window to one side of your screen without having to move it around and resize it manually. In Windows 10, Microsoft has improved the snap feature to include more options.
When I snap a window automatically size it to fill available space?
When enabled, snapped windows will automatically use the available screen space to its fullest which means that they may occupy more space than a half or a quarter of the screen when enabled.
How do I stop windows from resizing?
Here's how:
- Open Settings.
- Click System then click Multitasking.
- Toggle "Arrange windows automatically by dragging them to the sides or corners of the screen" to OFF under Snap.
How do I snap multiple windows in Windows 10?
Using the mouse:
- Drag each window to the corner of the screen where you want it.
- Push the window's corner against the screen corner until you see an outline.
- Select the window you wish to move.
- Hit Windows Key + Left or Right. ...
- Hit Windows Key + Up or Down to make it snap to either the upper or lower corner.
How do you vertically snap windows?
How do I perform a vertical Snap? Click and hold the title bar of the window you would like to vertically Snap. Drag the window to the right or left side of the screen. An outline of the window will appear showing how the window will display after it has been “Snapped.”
How do I save a Windows 10 layout?
To save any window position, click on the Windows title bar to make sure the window is active and press the hotkey Ctrl+Alt+Z. A tooltip message will confirm that the position has been saved.
How do I fix snap in MMC?
How to Fix MMC Could Not Create the Snap-in
- Open Control Panel. ...
- The last step will open the Control Panel. ...
- In the Programs window, click on Turn Windows features on or off.
- The last step will open WIndows Features: Turn Windows features on or off in a small window. ...
- Now, Restart your computer.
How do I change my snap settings on Windows?
Here's how to find the Snap Assist settings, and how to customize them to your liking.
- Right click the Start menu and choose Settings.
- Click System.
- In the sidebar at the left of the screen, choose Multitasking.
- At the top of the screen, you'll see a list of four options for Windows Snap Assist customization.
How do you snap windows in dual monitors?
6 Answers
- Windows Key + ← This will snap the current window to the left side of the screen, or unsnap a window that is snapped to the right side of the screen.
- Windows Key + → This will snap the current window to the right side of the screen, or unsnap a window that is snapped to the left side of the screen.